

I've tried to correct the mistakes from my earlier versions but I've found new ones while doing it.

To make the pitch I used 2 mm thick grey cardboard that is more resistant than the 1 mm cardboard that I used in the earlier version.
I also printed the pitch in adhesive label white paper as I did in the Blood Bowl 7 folding pitch.
The main difference in comparison with earlier versions is the use a covering paper material known as Geltex (don't mistake with the mattresses). Geltex is a cellulose material with excellent scratch and stain resistance when in contact with other surfaces, so ideal to protect the pitch. Another modification is the use of the geltex to make the hinges of the board.
Another important difference is the use of glue in spray.
First of all I cut 6 equal pieces of cardboard to make the parts of the board and the Geltex.

I cut the cardboard using a hobby knife and a metallic ruler to make straight cuts.
The Geltex can be cut using a pair of scissors but is quite difficult to make straight cuts. If the field measures 79 by 46 cm the geltex should be cut to measure around 81 by 48 cm, one extra cm in each side.
In the image above you can also see that there two strips of geltex free of cardboard. These strips are 0.7 cm and 0.9 cm wide respectively and they are used to make the hinges.
Having this in mind each cardboard piece will measure 25.8 by 23 cm.
Once the cardboard and the geltex are cut, we glue the cardboard pieces to the geltex applying spray glue to the cardboard pieces. I used to much glue or maybe didn't wait enough time for the solvent to evaporate and some stains appeared in the geltex, other than that the bond between the geltex and the cardboard is really strong.

Now we make two cuts with a hobby knife separating in the middle the four pieces in the edges and leaving the two pieces in the center joined together by the geltex. Like that we make the hinge that divide the field in two along the narrow side.
Then we start to stick the adhesive label paper in the other side. The label paper has to be puss down in the spaces between cardboard pieces of the hinges will not work.


In the pictures below you can see the folding of the pitch.
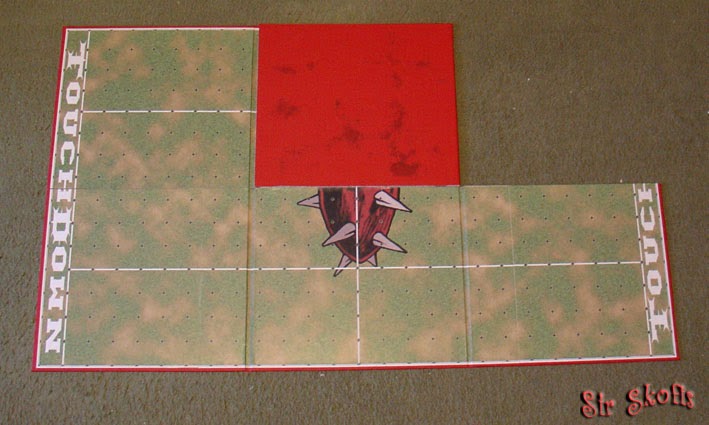


As you can see, once folded it takes so few space and can be easily carried. Also es well protected.
Below some pictures with a handful of players in the field.


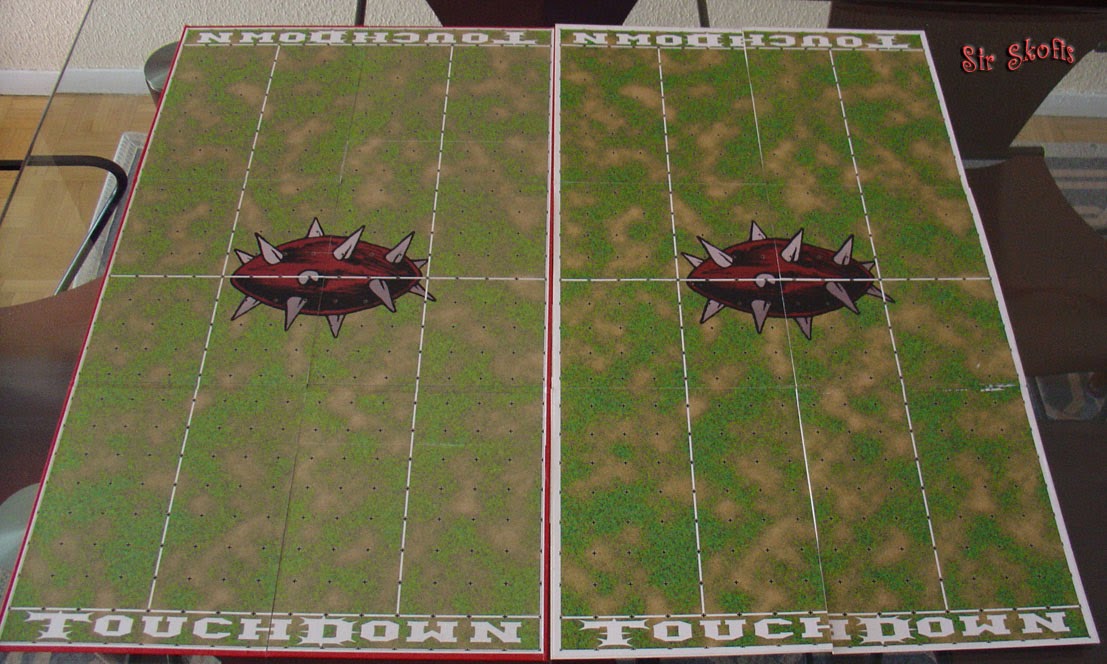
And to finish with this post a comparison side by side between this pitch and the earlier version.


Hope you like it!
No comments:
Post a Comment